Passive Bucket
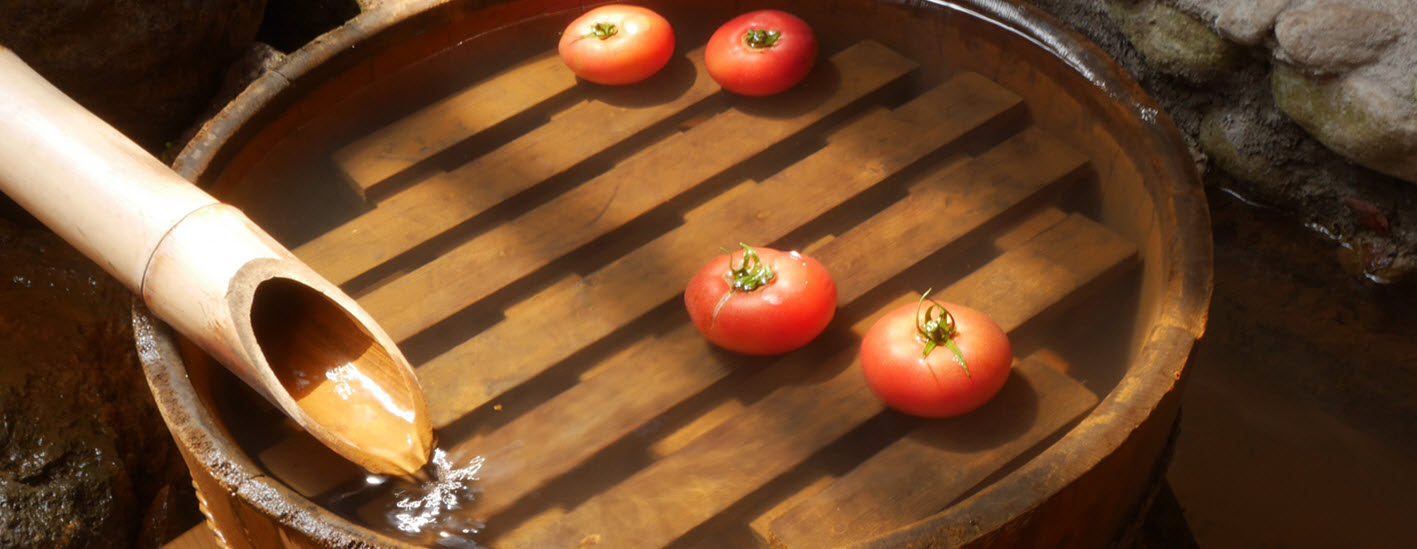
If you want to try out the concept of hydroponics without dedicating a lot of space or money to it, this is a great beginner project.
You need:
- A bucket with a lid
- A plant, e.g. a small tomato plant
- A net pot for the plant to stay in. Chose a pot that is wider at the top than at the base (otherwise it will fall through the whole in the lid). It’s important that there are plenty of openings in the bottom of the pot for the roots to grow through.
- Some growing medium to fill the pot with, such as perlite
- Plant nutrients
Instructions:
- Clean everything.
- Fill the pot with growing medium and plant the plant in it.
- Fill the bucket with water and nutrients, to create a nutrient solution.
- Cut a hole in the bucket lid that is large enough to put the pot in, but not so large that the pot will fall through all the way.
- Place the pot in the hole.
- Check to make sure that the roots of the plant can reach the water. Fill up with more water if necessary.
Check the conditions of your hydroponic set up regularly to make sure the roots are still reaching the water. Also watch out for signs of nutrient depletion.
Aquarium Hydroponics Raft
This is a great way to try out hydroponics if you already have an aquarium. Fish poop contains a lot of nutrients for plants, so you don’t have to add any fertilizer to the water. The addition of more live plants to your aquarium will be beneficial for the fish, because the plants will absorb compounds that are harmful for fish.
Warning: Some fish and other aquatic creatures are unsuitable for this set up because they will eat the submerged roots.
Things you need
- 1 piece of styrofoam
- 20 uncoocked beans
- A screwdriver or similar to poke holes with
How to do it
- Wash the styrofoam
- Poke 20 holes in the styrofoam (at roughly even distance from each other). Each hole should be large enough for one bean to fit snuggly into it. Ideally, make the holes cone-shaped, so that they are bigger at the top than at the bottom.
- Put your raft on top of the water surface. Make sure it’s not to close to any aquarium lights.
- Use a spray bottle or water can to gently water the beans. This is to encourage them to send out roots that will absorb water and nutrients from the aquarium water.
When the seedlings are large enough, harvest them and eat them as micro-greens. They are very nutritious.
The aquarium raft hydroponic system can be used to cultivate wide range of microgreens. If you are planting small seeds, you might need to put some tissue paper on top of the raft to prevent the small seeds from falling through the holes. Water the tissue paper before you put the seeds on top. The roots will eventually penetrate the paper to reach the water below.
Contents